Sunday, September 1, 2019


Sunday, January 27, 2019
The Holy Trinity Lesson and Craft
The Holy Trinity Lesson and Craft
The Holy Trinity is a difficult concept even for adults, but it's important to introduce kids to difficult concepts. The more they are exposed to these difficult concepts, the more the meaning will begin to sink in.
I started with a simple lesson:
 | |||||||
| Explore some simple concepts. God is three in one: God the Father, God the Son and God the Holy Spirit. All three aspects of God have been around forever. They are all eternal. Jesus and the Holy Spirit were instrumental in the creation of the earth and heavens. Talk about what it means for something to be eternal. No beginning and no end. Also, talk about the symbols that are used to portray the three aspects of God's Deity. The Hand coming down from Heaven portrays God the Father. That's kind of simple to understand. Imagine God's helping hand coming down to help us in our lives. The Lamb carrying the cross is our Lamb of God, Jesus, Who died on the Cross to save us from our sins. And, the Holy Spirit is protrayed by a dove. Think about when Jesus was baptized by John in the Galilee. After Jesus was baptized, a dove came down from Heaven and God said, "This is my Son, in Whom I aam well pleased." |
Then we made the lanterns. I used vellum that I printed on the inkjet printer. You just have to be careful because as it is coming out, the ink will smear easily.

* Vellum that will be printed with this picture.
* Glue sticks
* Colorful paper for the top and bottom of the lantern
* Hot glue to attach the lantern at the end
* Scissors for the kids to cut the colorful paper
* Battery operated votive lights. I got 12 for about $6
 | |||
| Here's Miss Lisa with Eliza Jane and her lantern |
 |
| Here's Cait and her lantern |
 |
| Here's Claire with her lantern |
 |
| Here's Boe with his lantern |
 | |||
| Here's the lantern with the votive candle inside. So pretty when the lights are out. I told the kids they could put it on their bedside tables. |
Another way you can explain the Holy Trinity is to say that you are a daughter, a mother, a sister, an aunt... It's really a simple way to think about it, but it might help a child to grasp the idea.
 |
| All the kids with their lanterns! |
Monday, January 2, 2017
New Year's Resolution: Cultivate a Gratitude Attitude!

If I do nothing else as a Sunday School teacher, I hope I can instill in the kids the need to be grateful for the many blessings that God has given them.
So, for our New Year's Day craft, I came up with a "Happiness Tub". Inside are little slips of paper that say: "Thank You, God, for..." Every day the children are supposed to write a little note to God, thanking Him for His many blessings. I encouraged them to thank Him for one thing each day.
I told them that there are so many wealthy people out there who aren't very happy. They are constantly buying new gadgets that give them very temporary "happiness", but it doesn't last. They don't cultivate a "Gratitude Attitude", thanking God for the simplest of blessings and being satisfied with what you have.
Have you ever seen pictures or videos from mission trips to Africa where the people are so joyous, and yet they seem to have so little? "Things" don't make us happy. Being thankful for God's many blessings to us... does.


I made a typo when I was putting the Bible verse on the picture to place on top of the little plastic tub. Sorry. After the kids color their picture, have little foam brushes and plates of ModPodge on them. Put a liberal amount on the top of the tub, place your picture on top, smooth it out, then cover with another liberal amount of ModPodge. Smooth out the ModPodge. Let dry and it will be beautiful.


O Christmas Tree!

The kids really enjoyed doing this craft. You need to trim the green and yellow construction paper down to the size where you can print off the templates in your printer. And, I made "ornaments" on card stock because I'm certifiably crazy and do way too much. I had thought about getting little packs of those star stickers for the kids to put on their trees as ornaments, but couldn't find them easily, so opted to make the ornaments myself... which took a long time to cut out.
You can put as many "trees" and "stars" together to make the 3-D effect, but I think at least three are needed for a nice tree. The tree above has three trees and three stars glued together, but I was able to give each child 4 trees and they looked a lot nicer. And, of course, the label at the top is essential. "Jesus is the Reason for the Season". I printed that off on card stock.
Just fold each of the trees and stars in half and have the kids use glue sticks to glue the halves together, working your way around until you have the full effect.





King David Dances when the Ark of the Covenant returns!
King David Dances!

I made King David out of Card Stock and then printed the explanation on plain paper. I decided to cut the explanation the size of the King David so that the kids could glue the explanation on the back of King David and better be able to explain to their parents about our Sunday School lesson.


 |
| Add caption |

Advent Snowman Calendar
Advent Snowman Calendar Craft

This is a time-intensive craft on the part of the person putting everything together. I put a lot of work into making the links, but you will still have to cut them all out. A perfect craft for cutting out while you're watching TV in the evenings. I wish I had taken pictures of the top of the snowman, but, alas, I did not.
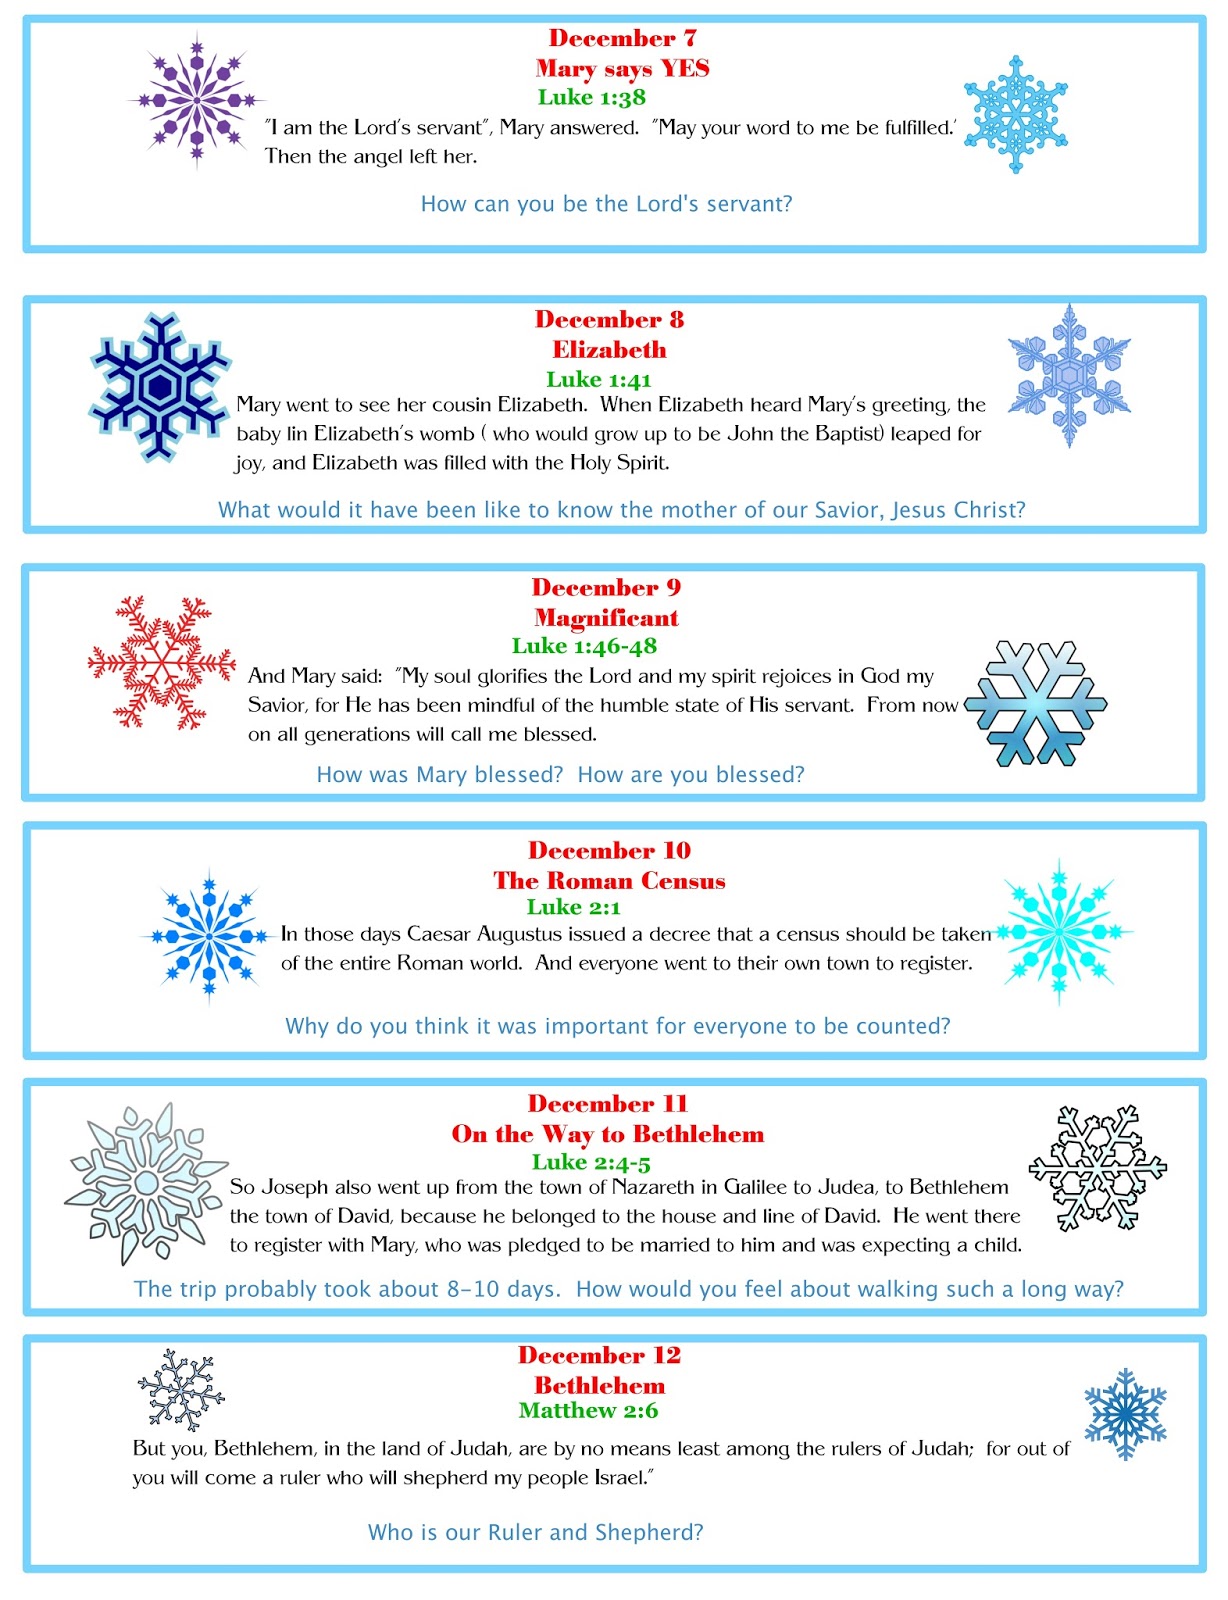
The kids make paper rings and put them together with Dec. 1 at the bottom, leading all the way up to Christmas Day. The intention is for the family to cut a paper loop off each day and read the Christmas Story day by day until Christmas Day. Oh,... and to let you know... I put the Bible verses on the inside, and the dates on the outside, so you'll have to turn the paper over and print the dates on the other side of the paper. Like I said... a little time-intensive, but if the families really do read each day, it's well worth it.
The first three rings are made of card stock, and I put those together. I used fishing line for the hanger and attached masking tape at the end for the parents to attach them to the ceiling with the masking tape. I turn the masking tape over to make tabs so you can pull the tape apart.





Subscribe to:
Posts (Atom)